 Our customer discovered during their installation of the Electromaax 160 AMP alternator project on their Yanmar engine, that their greatest challenge to completing this task was not the actual task, but establishing how and what new wires I would need to complete the installation.
Background
The alternator is connected via a 1/0 cable to the house battery common terminal, all other connections as per the illustrated instructions provided by Electromaax.
The Project
My first step was to check if I had all items delivered from Electromaax and the ancillary connections I disconnected from the original alternator which was very simple. A few wires, the nut and bolt on adjuster arm and two mounting bolts, this took me about ten minutes to complete.
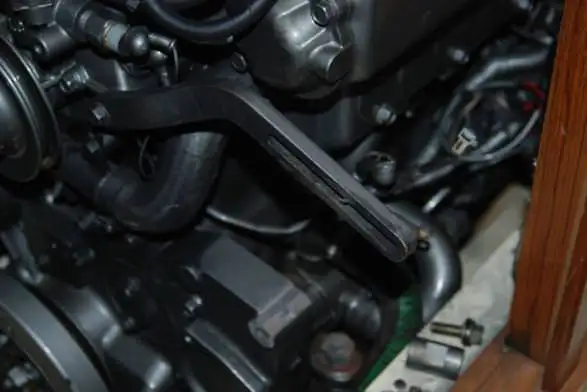
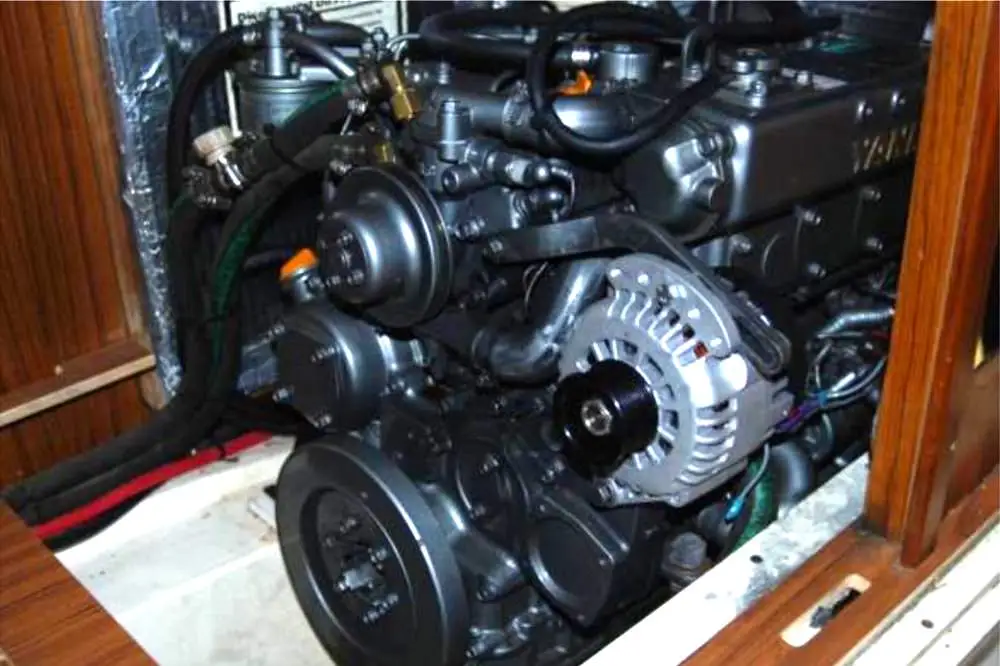
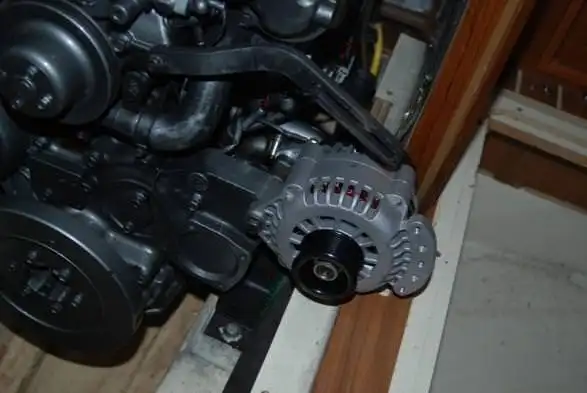
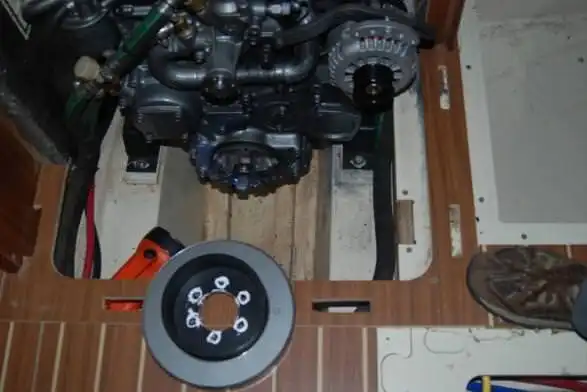
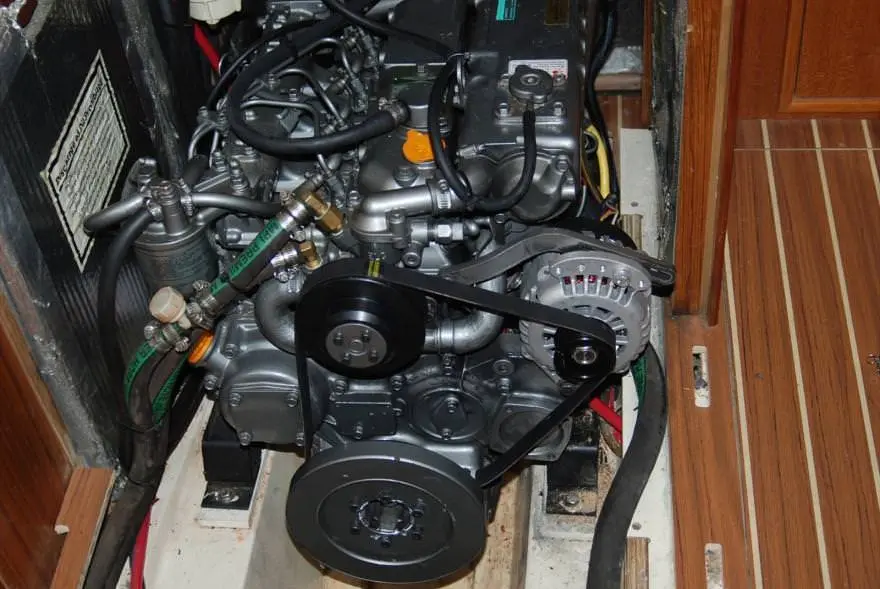
About 10 minutes later I had the new Electromaax alternator attached to the engine; a simple one person job on my 4JH3E. As you can see in my photo, the alternator rested on the galley floor next to engine compartment so freeing both my hands to attach the alternator with the 2 bolts and spacer from old alternator. I then attached the adjustment arm to top of alternator.

The next stage was installing the serpentine pulleys. I removed the water pump pulley and then the balance wheel from the front of crank pulley.
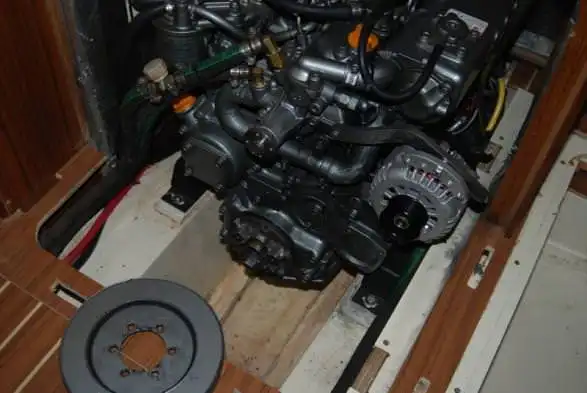
The new water pump pulley was easily attached. When dry fitting the serpentine pulley over the crank pulley I discovered that the tolerance between the inside of the new pulley on top of the existing one was very minute. The new one became jammed on very quickly as I did not slide it on squarely. About 5 to 6 minutes later I had it removed.
I applied the tef-gel as I had also done on the inside of water pump pulley.
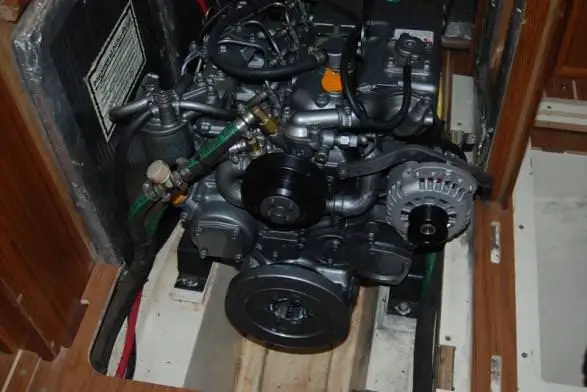
I was careful to put the new pulley on squarely this time over the crank pulley while ensuring all the holes lined up. This was so I could see the threaded holes for retaining bolts.
Installing the pulleys took me approximately 30 minutes. Total time to have all the hardware installed was close to an hour.
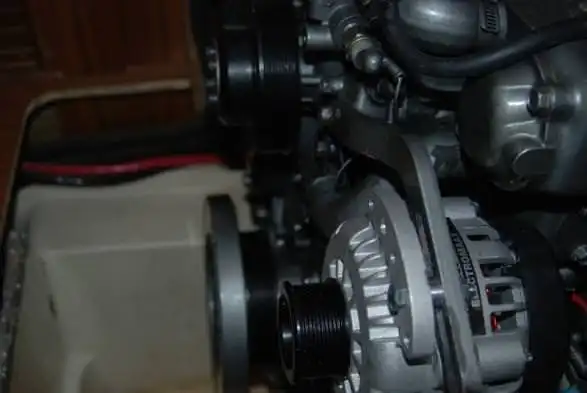
My attention then focused on wiring up the alternator.
The 1/0 red cable from the alternator positive terminal exited the engine space through a newly drilled hole in the floor support into space for under floor storage in front of the fridge. From there I had removed the flooring in front of sink in galley where cable went through and under floor in front of companion way stairs then turned into space where start battery is situated and across this space and under to come up behind battery switch panel at Nav. station.
The Electromaax alternator and Emaax regulator wires then connected as instructed. I installed the Emaax regulator on the wall of the engine compartment. Routing cables and connections took me about one hour to install.
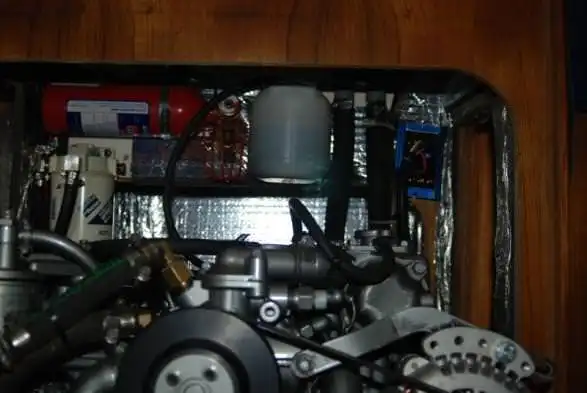
I also added an Echo Charger to my system to work off the new alternator. Since my installation in June of 2011, I now believe all Electromaax alternators have been upgraded to a plug and play; this means there is no wiring required whatsoever.
We are very happy with the decision to buy the Electromaax as we get 3 times the energy we used to get, and we eliminated the need to use our backup generator.
I was very happy to have had assistance from the Electromaax personnel, and Ted Grahame of Grahame Marine, to advise me so I could complete this task. This was important for me as I do not usually tackle anything electrical.